Window Restoration Project Photos
Window Restoration Phase 1

Slide title
Work on the four phase 1 windows was manageable with ladders and scaffolding.
Button
Slide title
The old Lexan was completely blocking the view of the stained glass windows from the exterior.
Button
Slide title
One could immediately see the difference when the Lexan was removed. It was also blocking light from reaching the church interior.
Button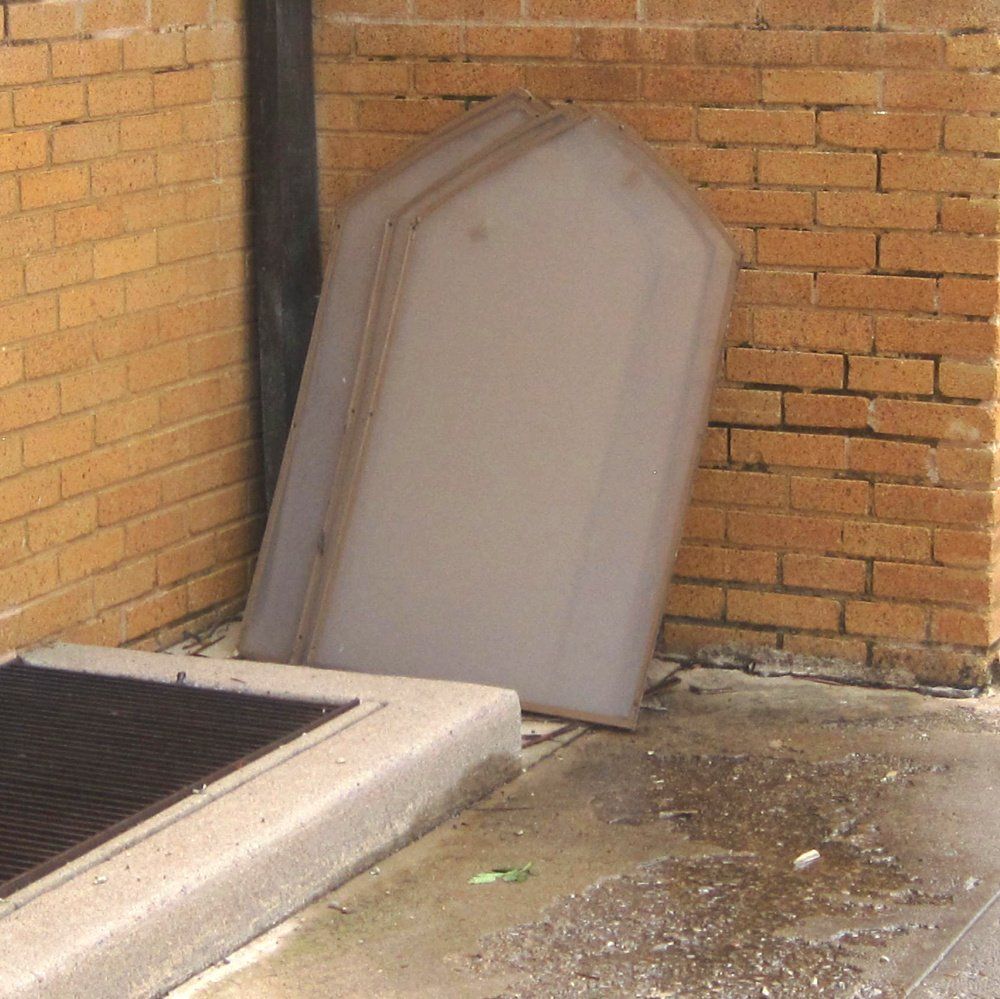
Slide title
Old Lexan removed from the windows.
Button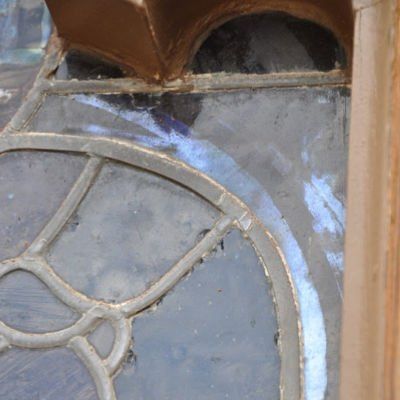
Slide title
When the Lexan was removed, it was obvious that the window glass needed attention.
Button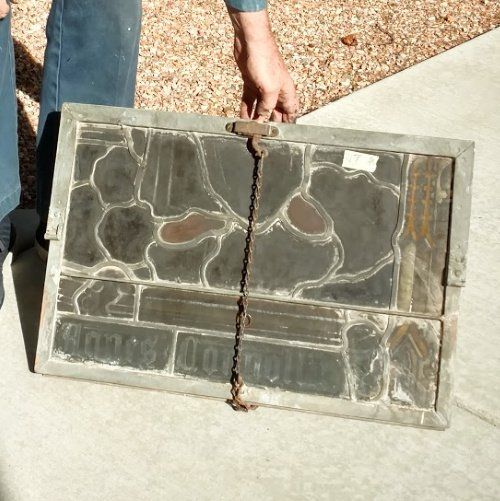
Slide title
Every square inch of glass wias cleaned. The lead came (stripping between glass sections) was repaired or replaced as necessary. The piece of tape probably marks a crack or an area needing special attention.
Button
Slide title
The wood frames also neededattention.
Button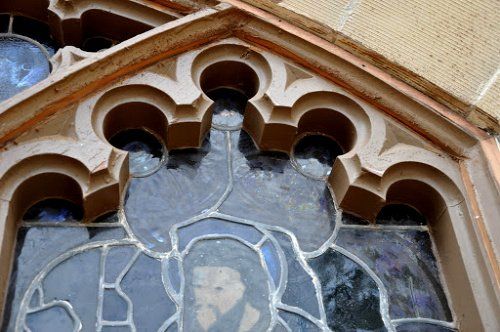
Slide title
The glass has been cleaned, the wood has been scraped, sanded, & repaired as needed.
Button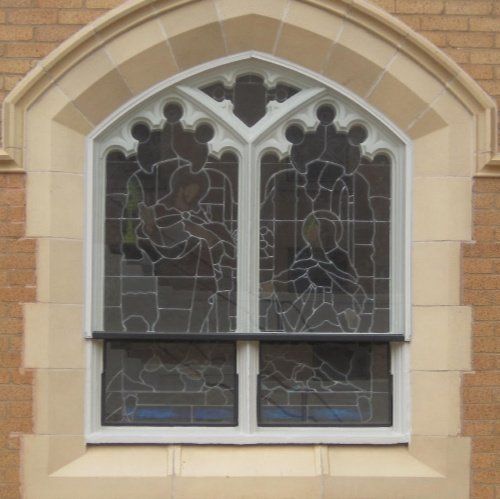
Slide title
The new metal trim and the finish coat of paint on the wood will match the terra cotta color of the masonry. This will make the intricate wood trim more noticeable. This first application of new trim and paint was not a good color match. It will be corrected in the next phase.
Button
Slide title
Restoration of lower window is complete. Upper window still to be done. Quite a difference!
Button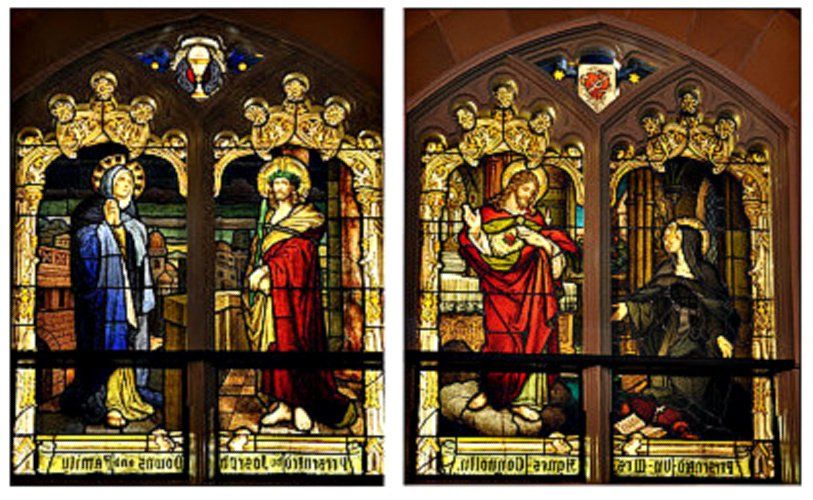
Slide title
After the restoration, night photos were taken of the two restored windows on the west side while the interior church lights were on. It was thrilling to see how clear the windows were. (These photos were definitely taken from the outside - notice that the lettering at the bottom of the windows is reversed).
Button
Window Restoration Phase 2
Slide title
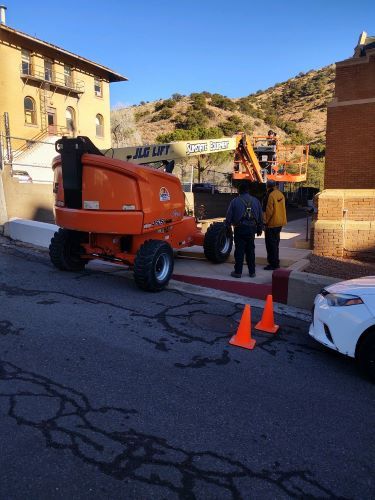
Necessary large equipment must often fit into very small spaces!
Button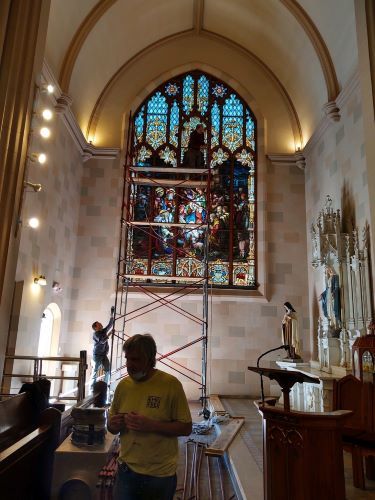
Slide title
Scaffolding being erected at the interior of the Nativity Window.
Button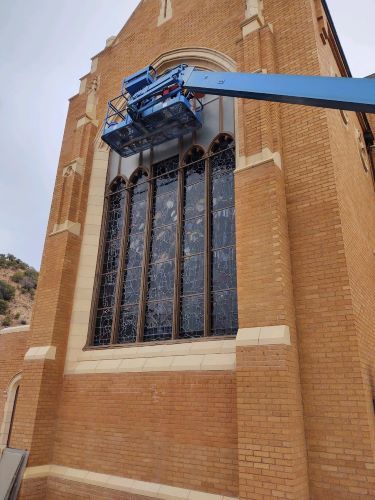
Slide title
The old clouded Lexan is being removed from exterior of Nativity Window.
It's easy to tell how much of our windows we haven't been seeing!
Button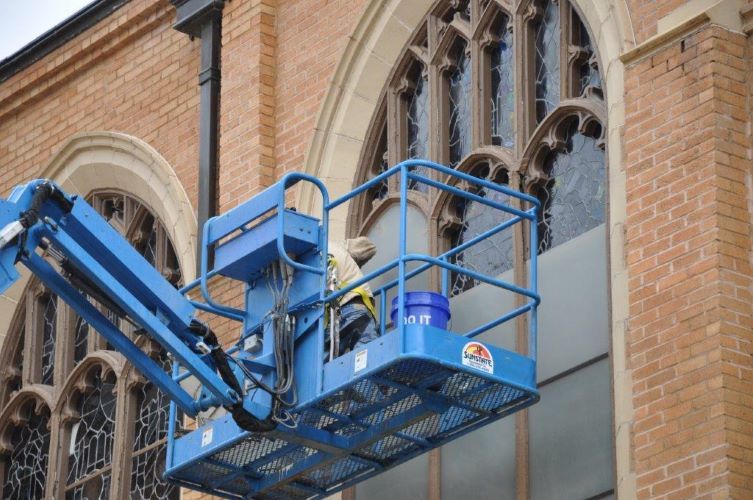
Slide title
More Lexan removal.
Button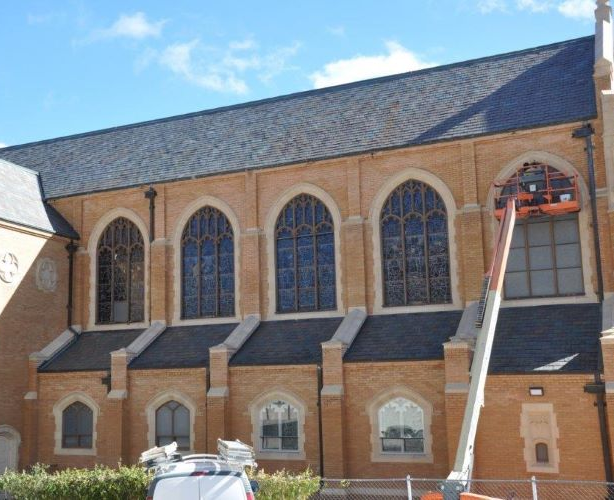
Slide title
Write your caption hereButton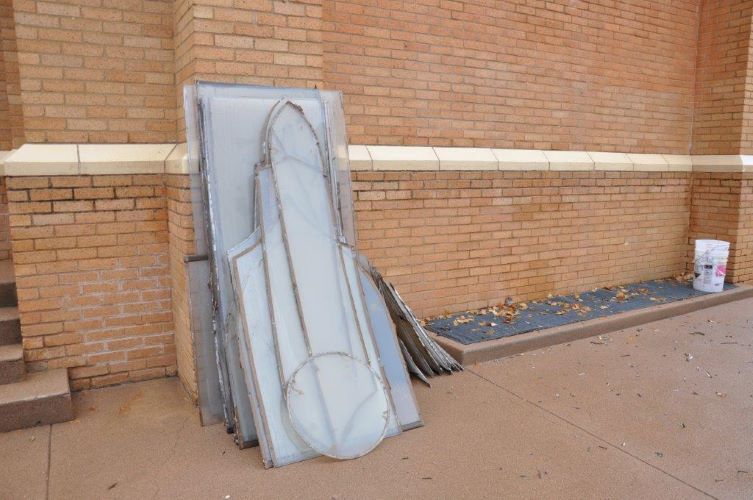
Slide title
An upclose look at the pieces of Lexan reveals just how opaque it is. It was clear when it was installed to protect the windows. The "clouding" has been gradual, and we haven't realized how much light has been blocked.
Button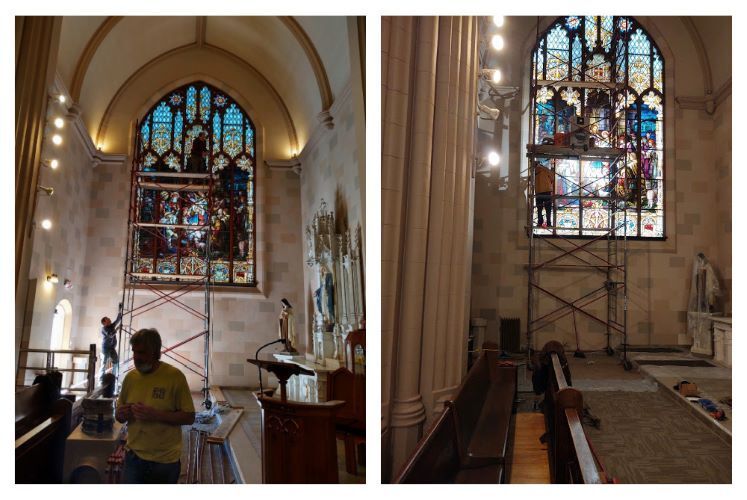
Slide title
The picture on the left was taken the first day, as the scaffolding was being erected in front of the Nativity window. The picture on the right was taken two days later, after the clouded Lexan had been removed from the exterior of the window.
Even though the lighting conditions when the pictures were taken are not the same, it is evident how much light was being blocked by the Lexan. When all the windows are covered with clear glass instead of the old clouded Lexan, our church will be a much lighter place!Write your caption here
Button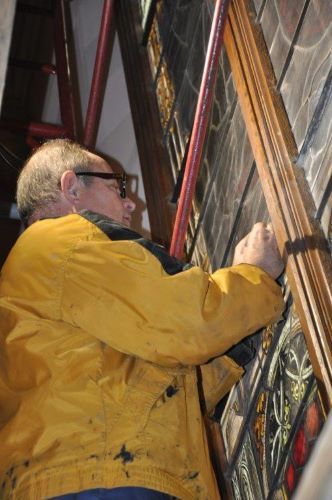
Slide title
Stephen Frei is the great-grandson of Emil Frei, who originally crafted our windows when the church was built 100 years ago.
Button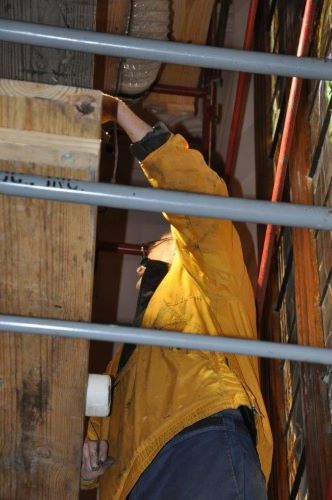
Slide title
Our windows have been in place for 100+ years. A careful inspection of the wood frames is also necessary, to determine whether there is any sagging, bulging, or deterioration that must be corrected.
Button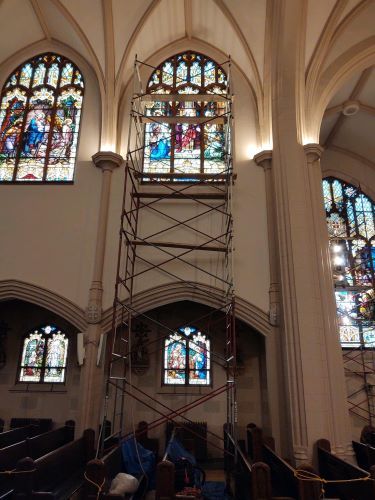
Slide title
Scaffolding is in place at the "Presentation in the Temple" window
Button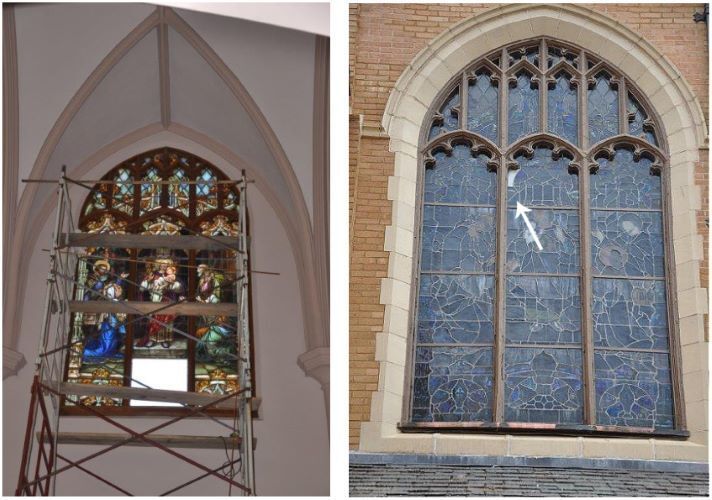
Slide title
Any pieces of glass that are broken or badly damaged will be removed from the windows. The broken or damaged glass, along with a template for the needed replacement, will be shipped to the studio in St. Louis MO. A new piece of glass to match will be made and sent back to Bisbee for replacement in the window.
The lower center section of the window has been removed to assess the damage to the wood framing and determine the appropriate course of action.
Button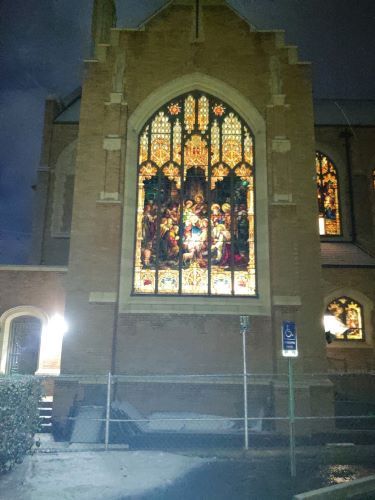
Slide title
his photo of the Nativity window was taken from behind the old school on a very stormy night. We scheduled a "drive-by" night so people could see the effect of t he Lexan being removed. A few brave souls came out in the storm.
Button
Slide title
Some photographers, like our parish photo guru Ursula Ritchie, come out in all kinds of weather...
Button
Slide title
Apparently someone had great fun walking around in the rectory yard during the snow. Wonder who it could have been?
Button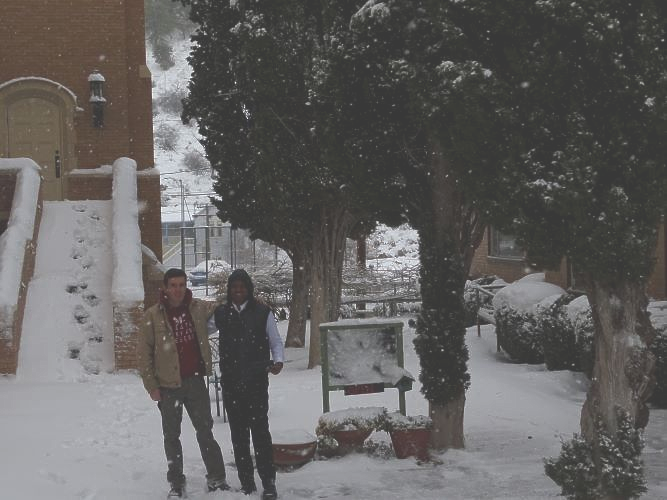
Slide title
Write your caption hereButton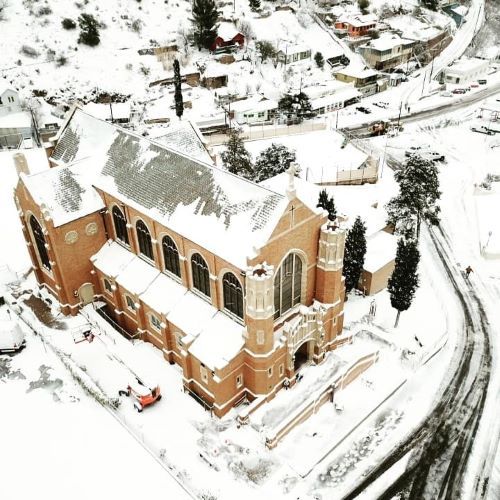
Slide title
Photo compliments of one of our local drone owners who posts on local Facebook sites.
Button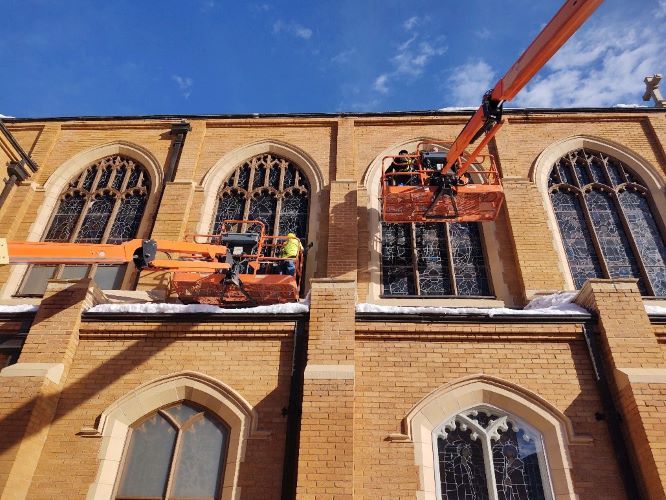
Slide title
So much of this work would be very difficult to do with ladders alone.
Stirs the imagination a bit to think about how the upper windows would have been installed 100 years ago without today's equipment.
Button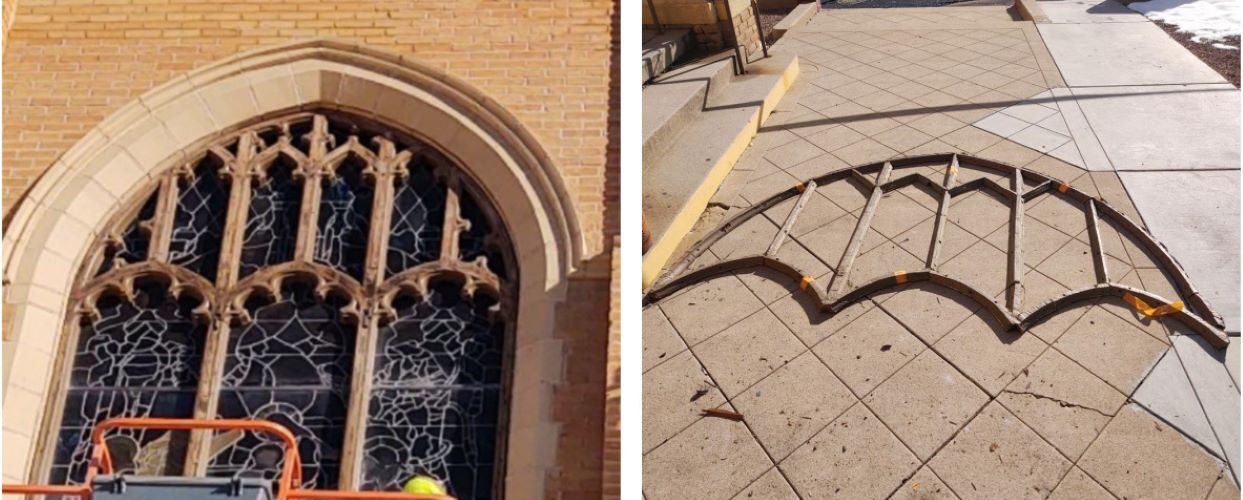
Slide title
One hundred years of harsh desert sun takes its toll on wood, even though we don't have much moisture in our area.The wood was replaced as necessary. New trim was also fabricated to match the existing.
Button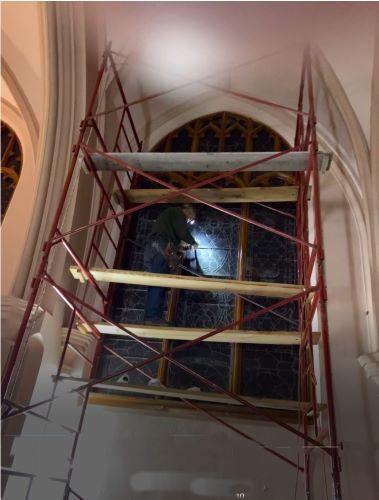
Slide title
Work on the Window Restoration Project often continued late into the night.
Button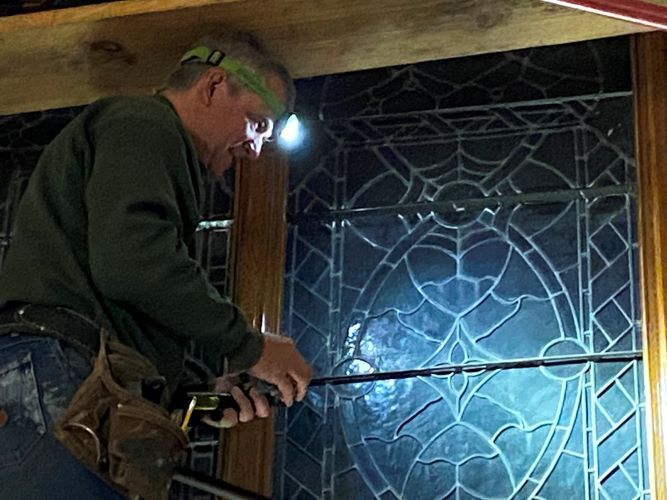
Slide title
Up close detail work is possible at night with the use of a head lamp.The accumulated dirt & dust can be seen at night without the sunlight coming through.
Button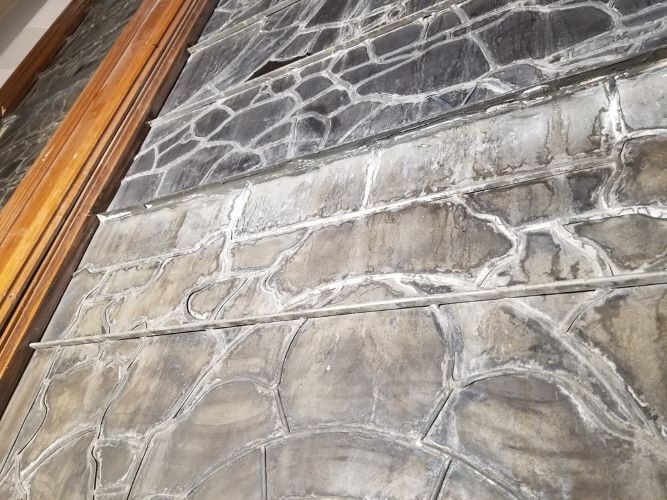
Slide title
Window in the choir loft is next in line for a big cleaning job.
Button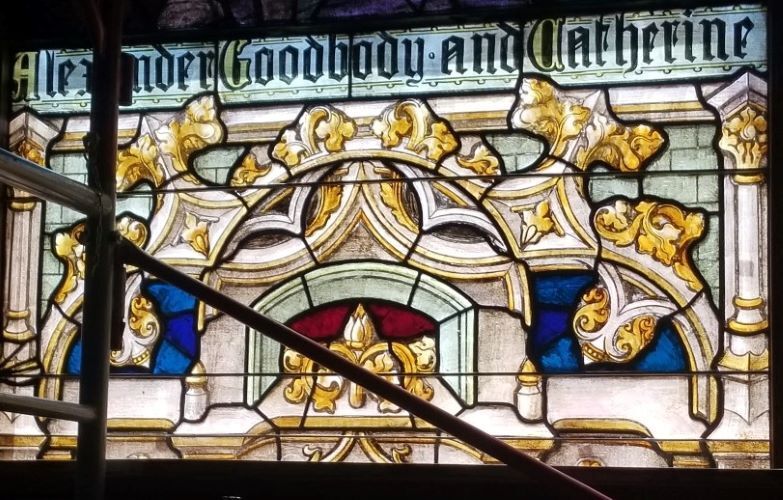
Slide title
This photo was taken in the daytime of the same choir loft window. Obviously a much cleaner window.
Button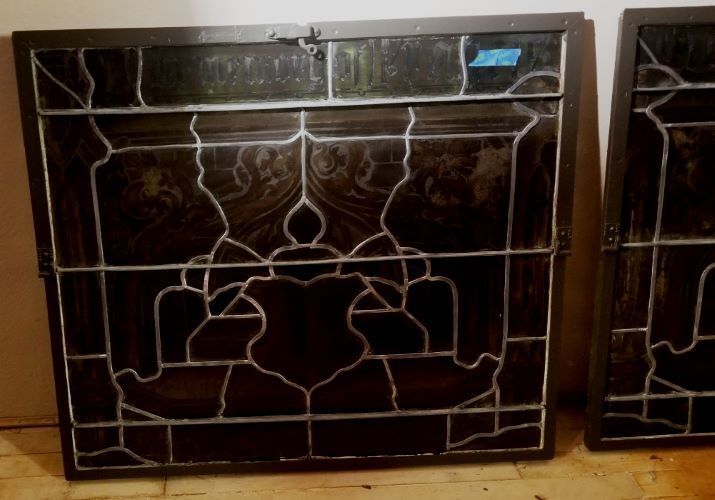
Slide title
These windows have been cleaned. Blue tape marks where repairs will be made.
Button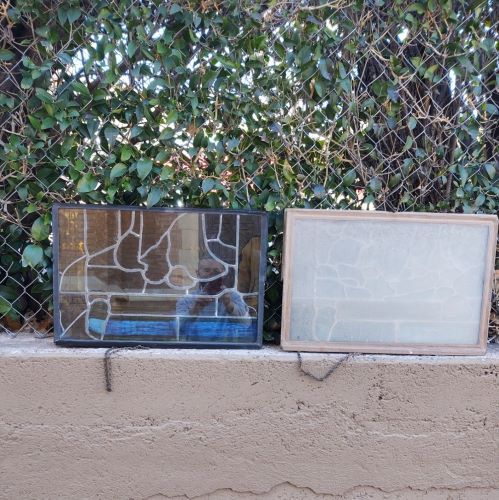
Slide title
A good "before and after" picture. The Lexan had completely clouded the stained glass, preventing any visibility from the outside.
Button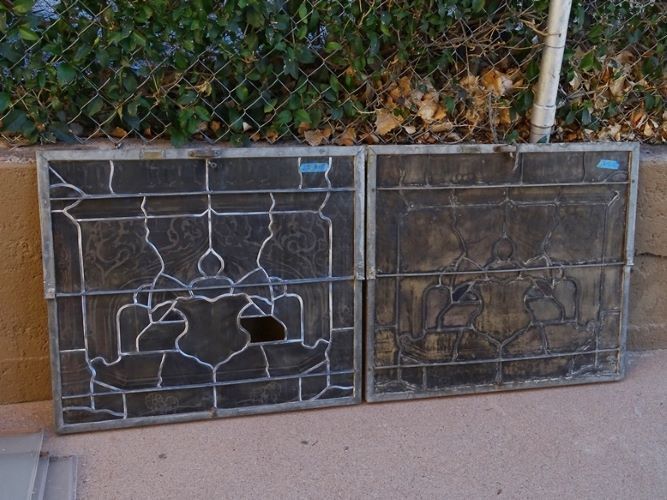
Slide title
Cleaning in progress!
Button
Slide title
As each window is inspected, broken or damaged pieces are removed and sent back to the studio, so replacement pieces can be created, matching color, texture, and painted details as closely as possible.
Button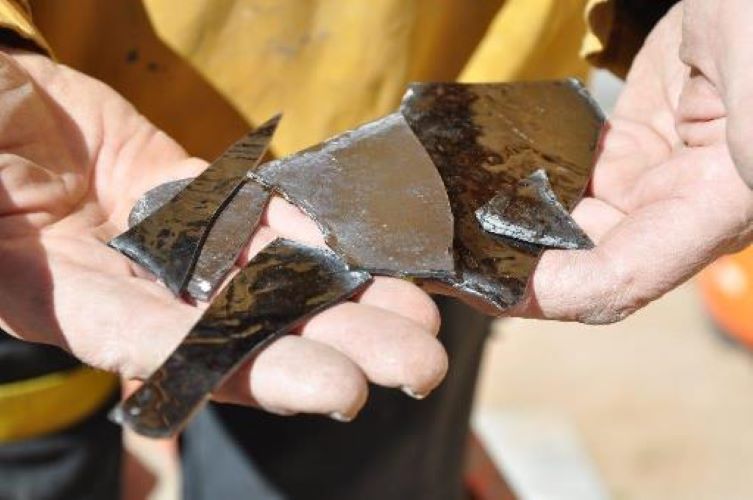
Slide title
Write your caption hereButton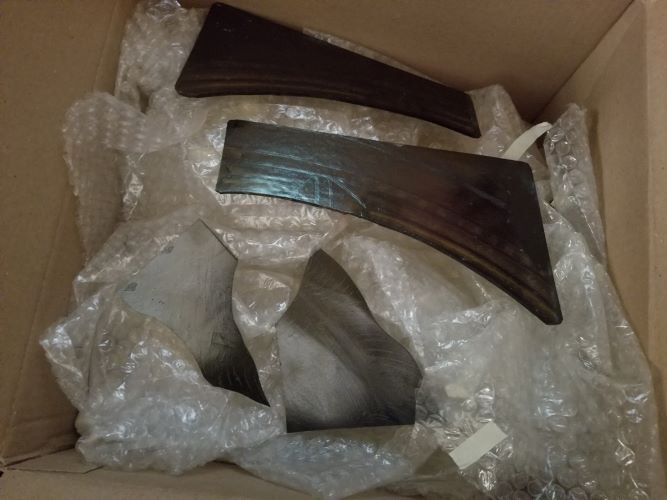
Slide title
The replacement pieces are shipped back, carefully backed and ready for installation in the window.
Button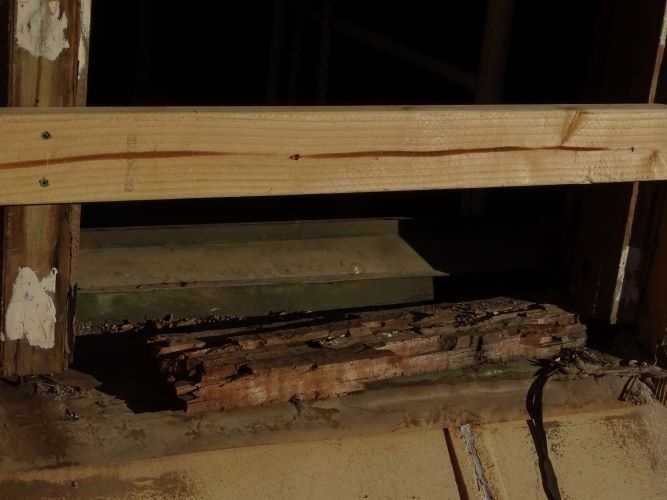
Slide title
On some of the windows, significaant deterioration of the wood frames was found. This was also replaced and reinforced.
Button
Slide title
Threaded rod is welded to sections of square steel tubing to be used for reinforcement. The road goes through the wood frames at strategic points and is bolted on the inside. After painting, the tubeing & rod is barely noticeable.
Button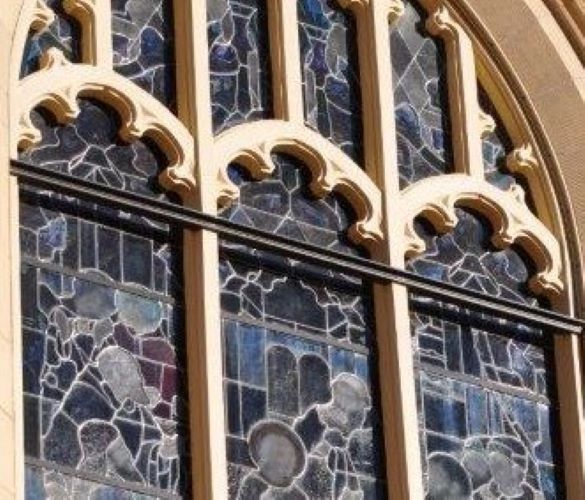
Slide title
Reinforcing is visible on the large Nativity window.
Button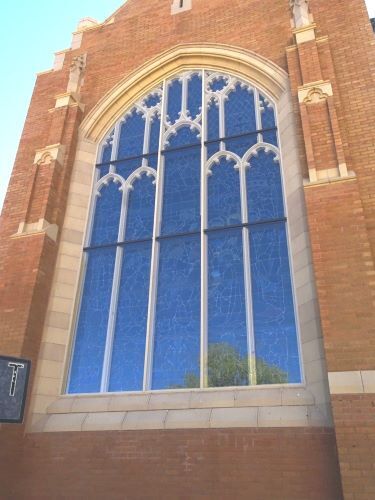
Slide title
Reinforcing steel shows hee. Small sections of the tubing are painted to match the vertical wood, to help camoflage the steel.
Button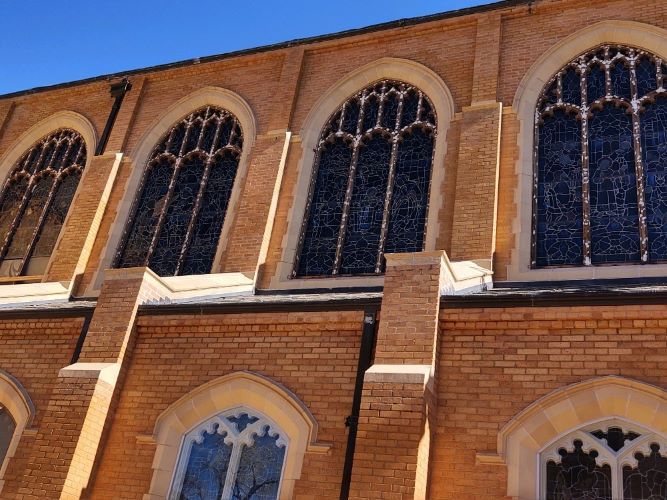
Slide title
Prep work has started on the wood window trim./
Button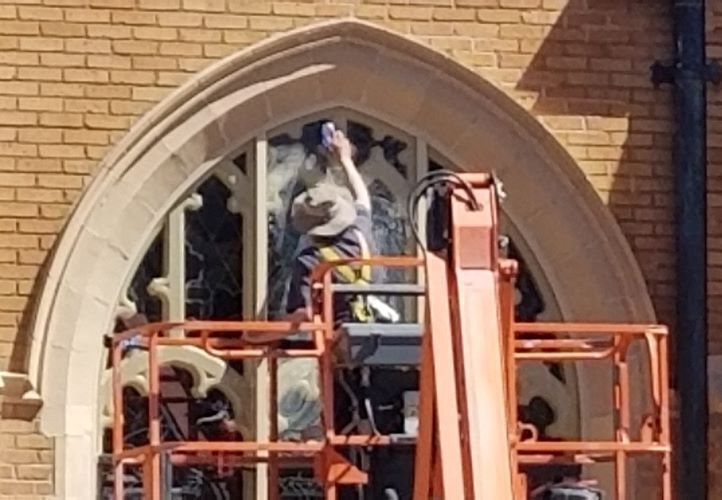
Slide title
Much painting to be done, but so much easier from a lift than from a ladder.
Button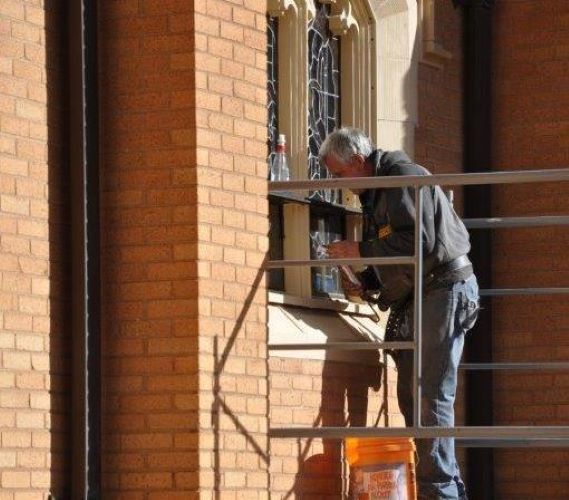
Slide title
Painting of lower windows from a ladder or scaffolding.
Button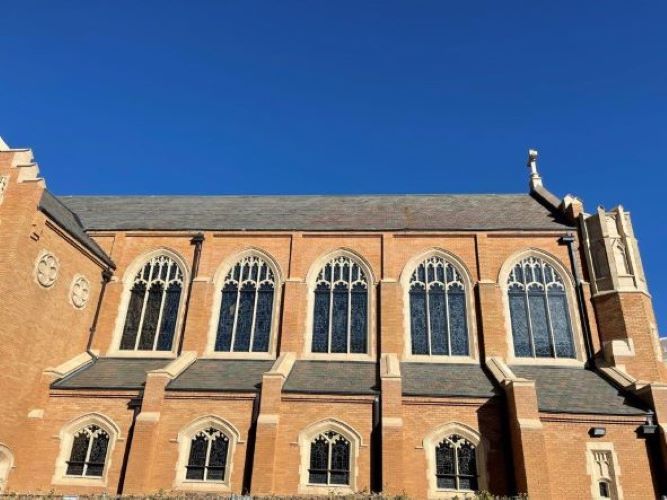
Slide title
Painting is underway. Using the lighter color to match the terracotta helps the wood window trim be much more visible.
Button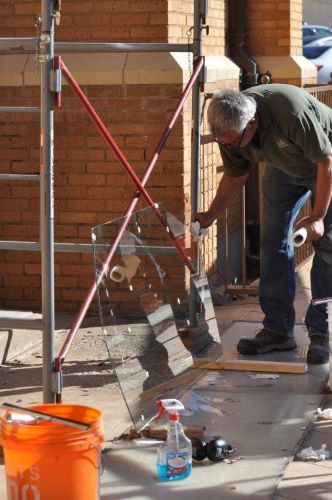
Slide title
Pieces of tempered glass are prepared for installation over the newly restored windows.
Button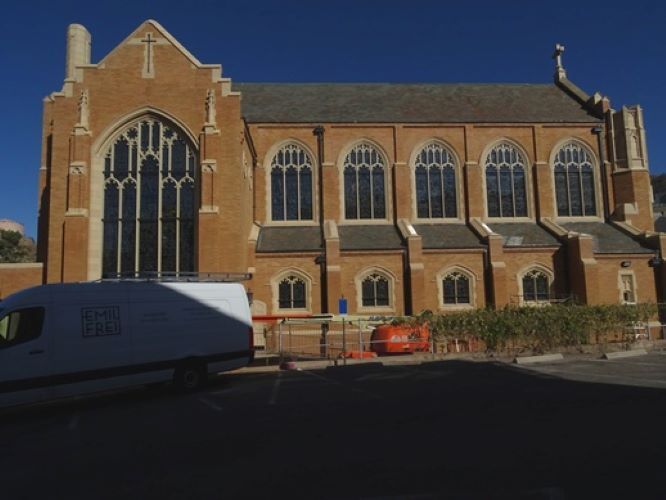
Slide title
Write your caption hereButton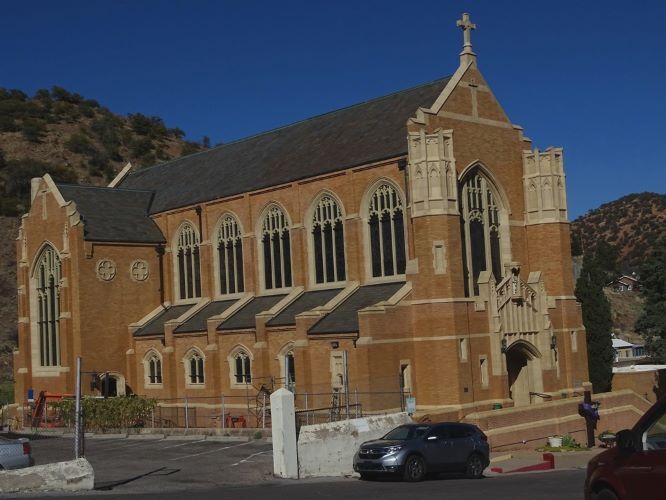
Slide title
Write your caption hereButton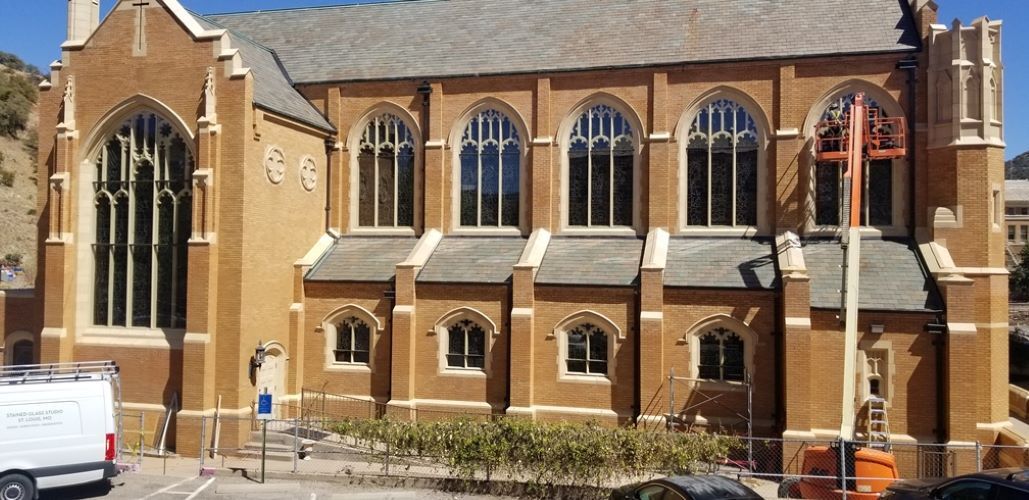
Slide title
Write your caption hereButton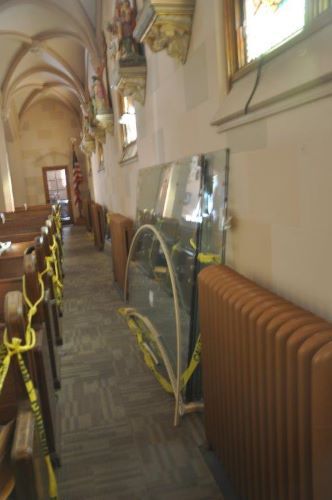
Slide title
After delivery, the glass sections and metal trim rest in the church aisles before installation.
Button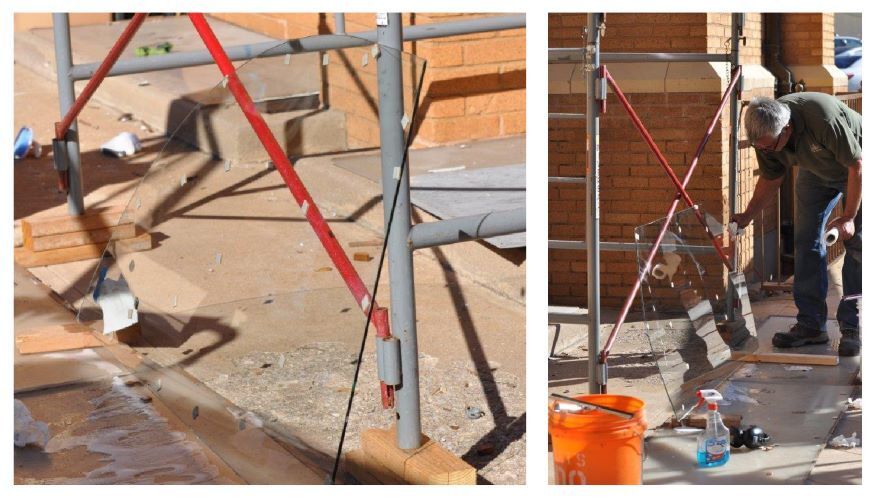
Slide title
More glass sections waiting. Hoping for no sudden wind gusts!
Button
Slide title
Metal trim for use with glass panels.
Button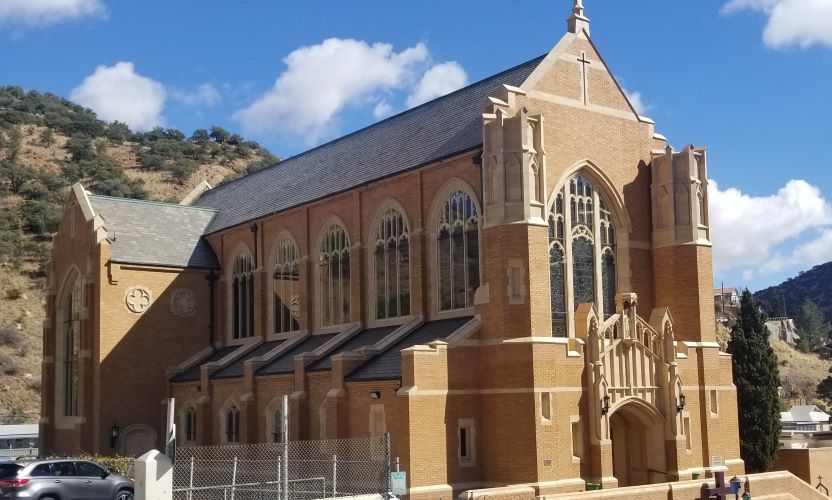
Slide title
Write your caption hereButton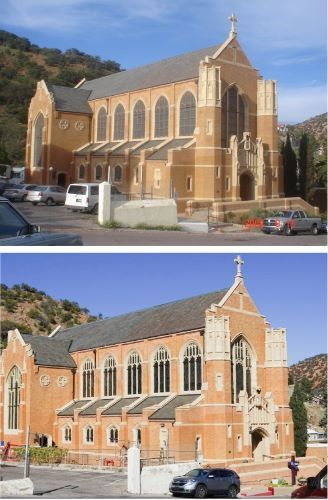
Slide title
Write your caption hereButton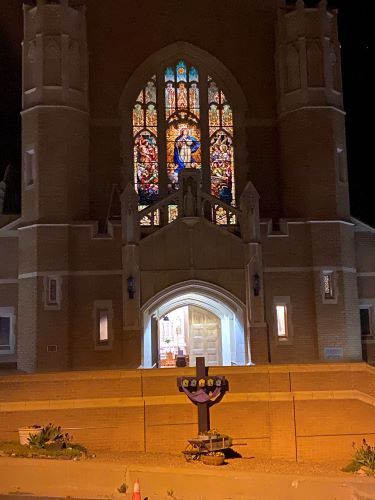
Slide title
Write your caption hereButton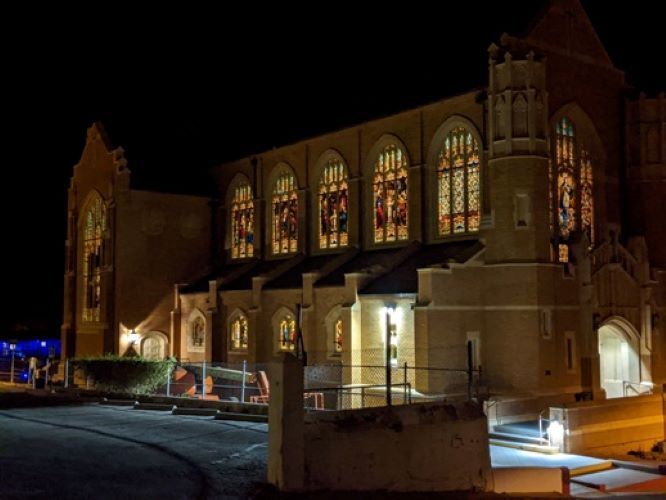
Slide title
Write your caption hereButton
Slide title
Write your caption hereButton
Window Restoration Phase 3
Slide title
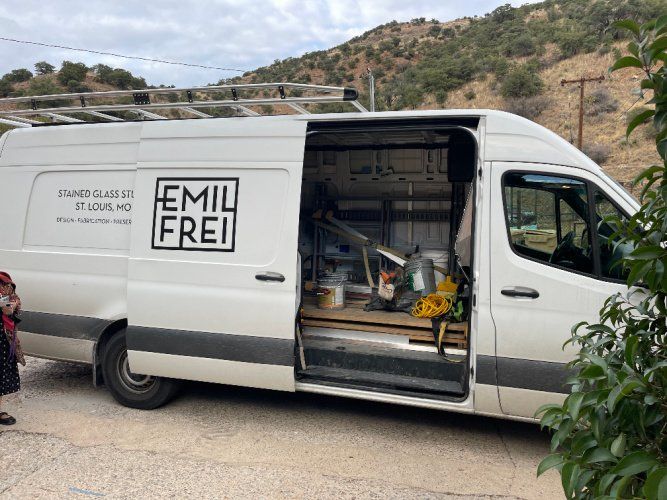
We were glad to see the Frei van arrive. Our Window Restoration Project Phase 3 was beginning!
Button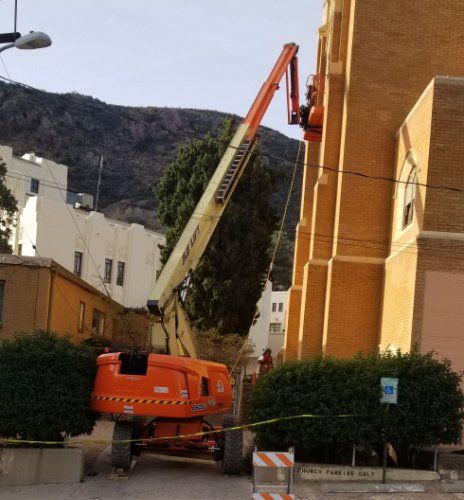
Slide title
Work on the large east transept window (above the parish hall door) was started right away. This location was particularly challenging, with the drivewa on one side and a set of steps on the other.
Button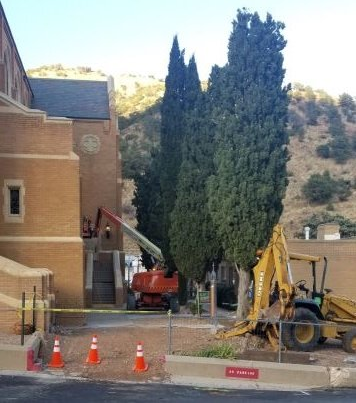
Slide title
Button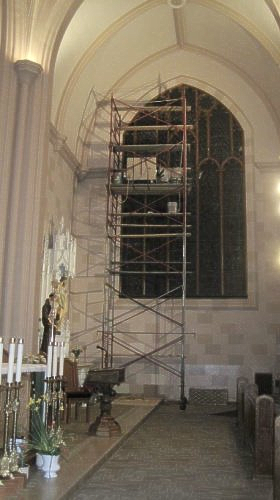
Slide title
Phas 3 again has much work done during the night. Accumulated dirt and dust can be seen with a headlamp when it is cark outside.
Button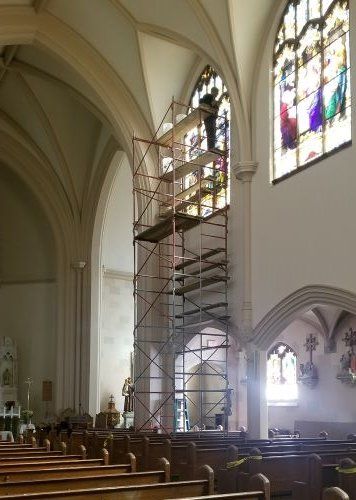
Slide title
Scaffolding in front of the Crucifixion window.
Button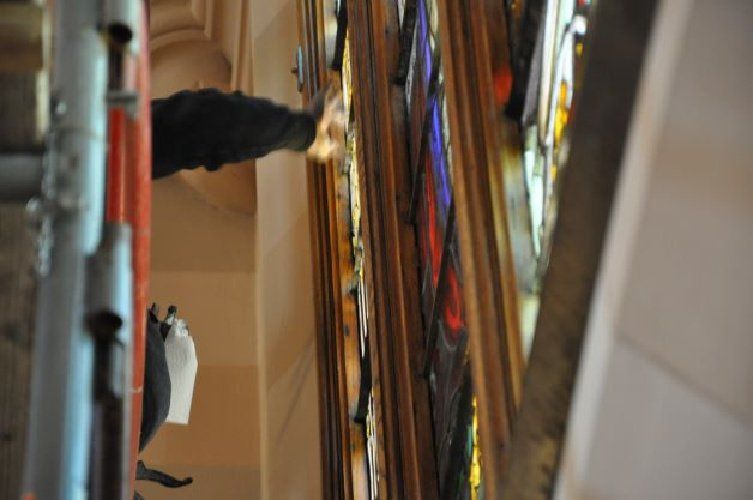
Slide title
Scaffolding helps with high level window washing.
Button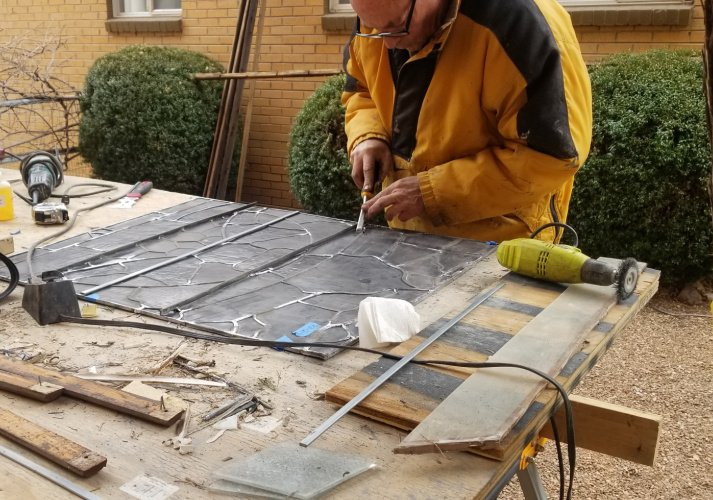
Slide title
Cleaning the windows is very labor intensive. The small sections can be removed and laid on plywood for the work. The work on the large windows all must be done from the lifts or the scaffolding.
Button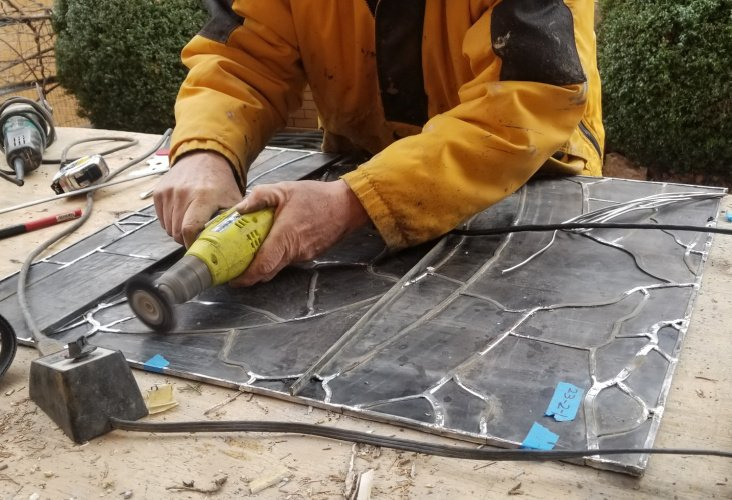
Slide title
A wire brush is one of the tools used during the restoration process.
Button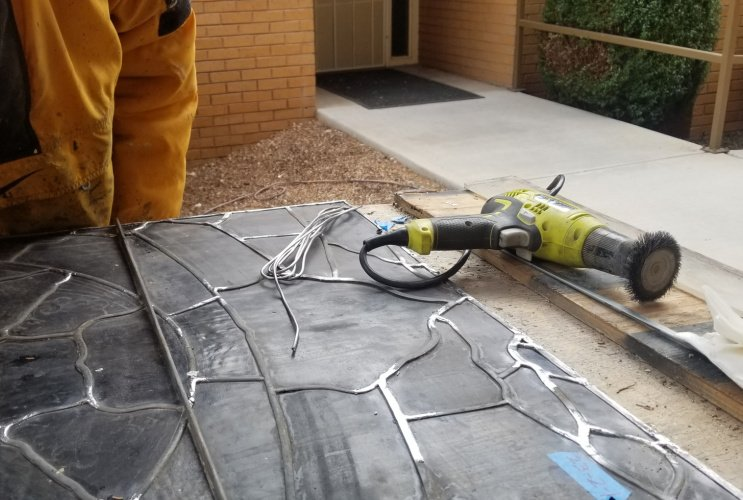
Slide title
During the restoration process, any damaged lead came is replaced.
Button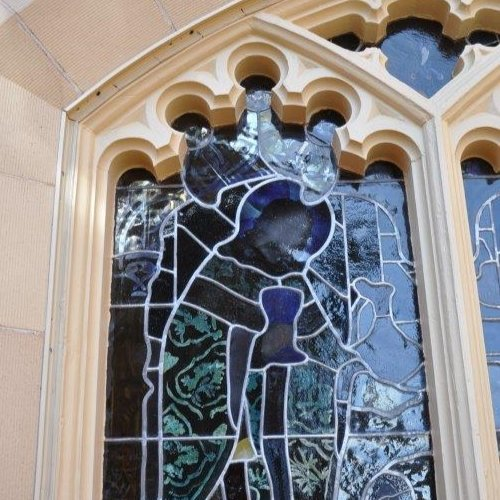
Slide title
Freshly cleaned and painted, ready for glass.
Button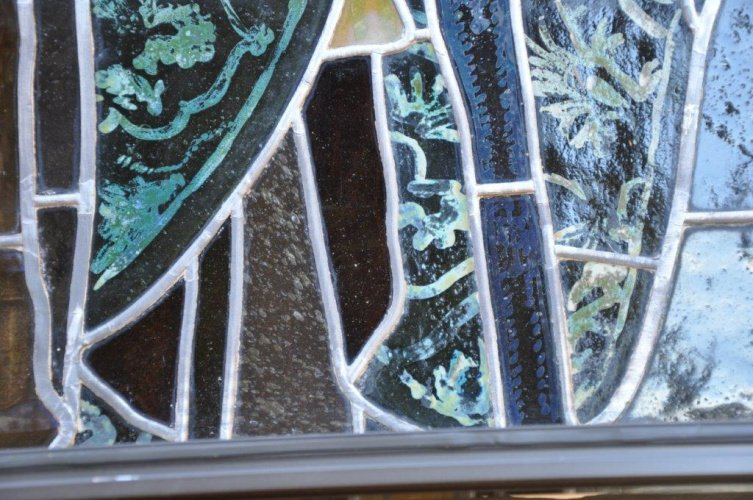
Slide title
An up close view of a stained glass panel after it has been cleaned and resotred. Looks just like new!
Button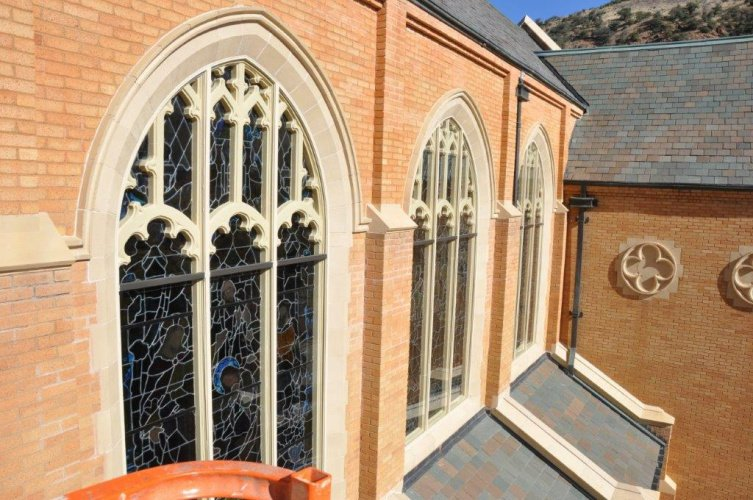
Slide title
The reinforcing steel is visibilt on these windows. The painting is complete. A good color match for the masonry trim, and a little careful work with the paintbrush puts a matching paint strip to help disguise the steel.
Button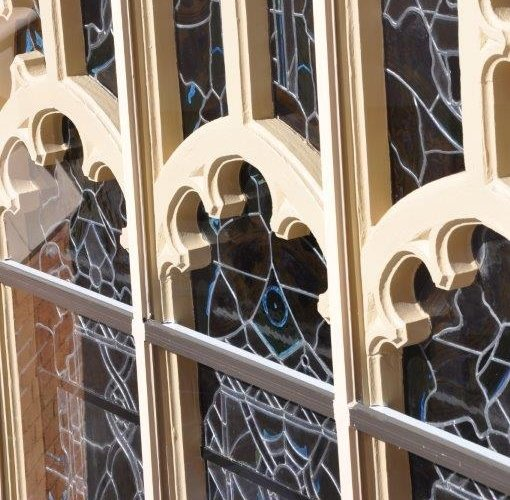
Slide title
A good view of the freshily painted wood window trim and the steel reinforcing. This window is probably waiting for its new tempered glass covering, which will keep the window and trim looking like new for many years!
Button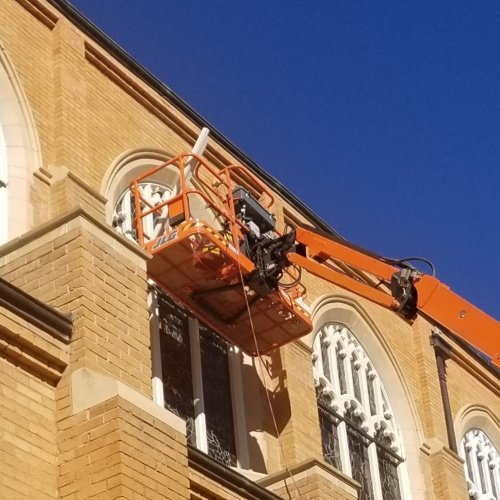
Slide title
New wood being installed on one of the upper windows.
Button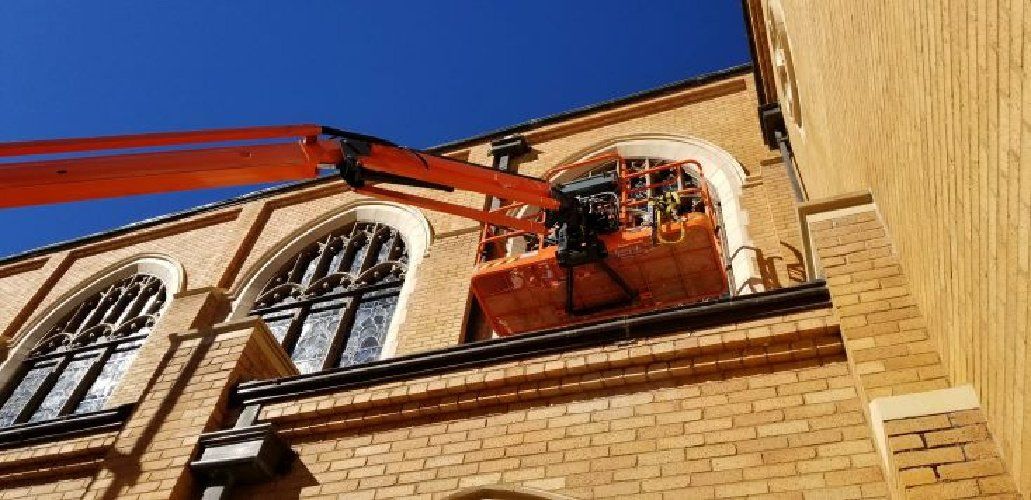
Slide title
The painters have much prep work to complete before giving the old wood frames a new coat of primer and paint.
Button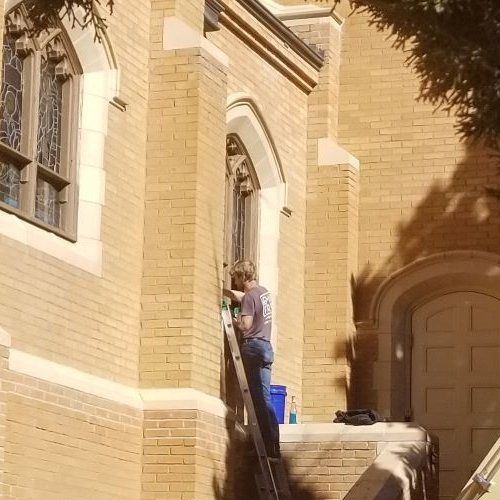
Slide title
Ladders are sufficient for the lower windows.
Button
Slide title
The high windows shown are those in the east sacristy. The old glass has already been removed.
Button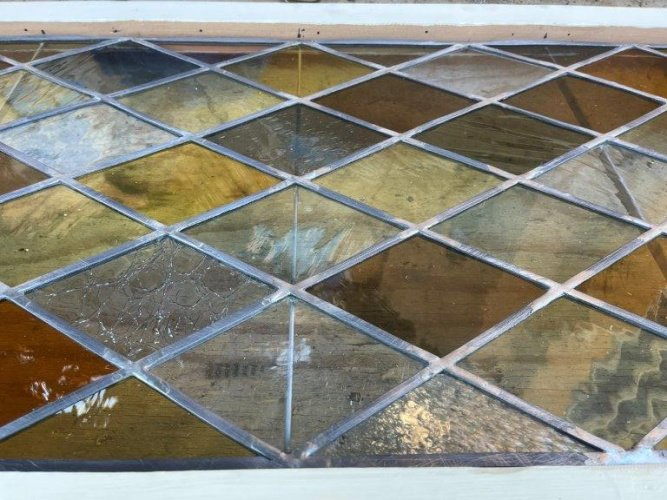
Slide title
New glass panel design for installation in the sacristies.
Button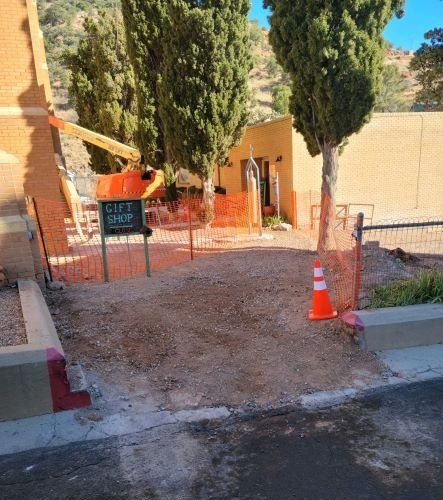
Slide title
One of the lifts sits in the yard between the church and the rectory. Not much room to maneuver!
Button
Slide title
When working from a lift or scaffolding, it's good to have your partner on the ground to do all your cutting!
Button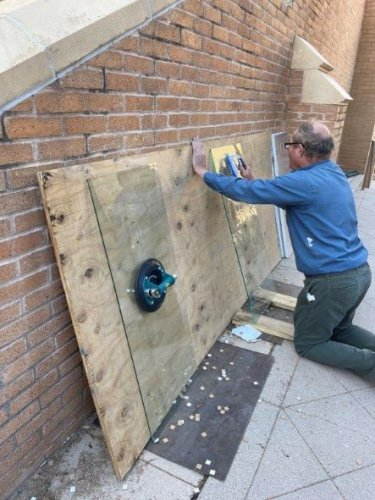
Slide title
Getting glass sections ready to install on their designated window.
Button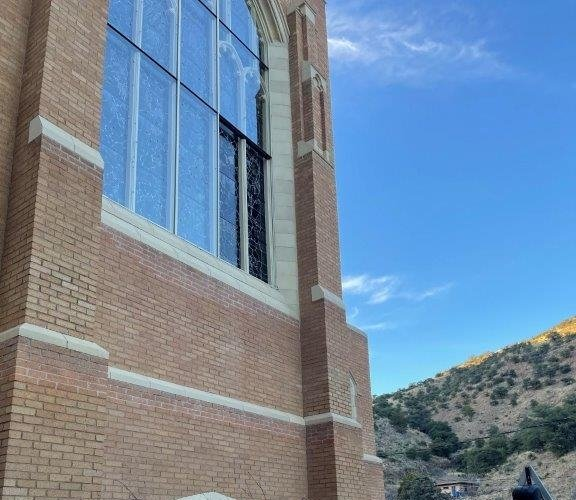
Slide title
The last panel of tempered glass is ready to go in. The bottom piece of steel reinforcint is visible also.
Button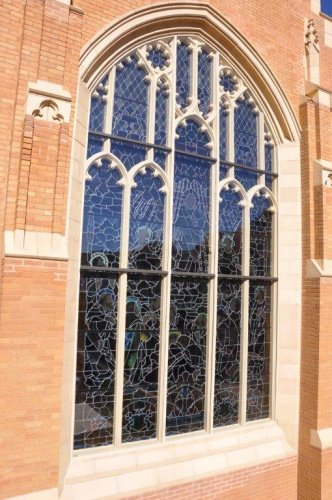
Slide title
Write your caption hereButton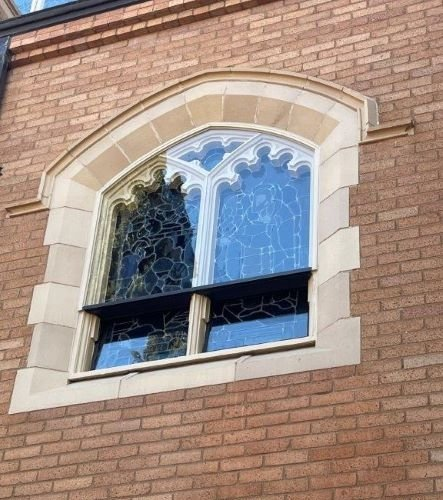
Slide title
The restoration of this window is complete. The new extrusion is an almost perfect match to the terra cotta trim on the church. The metal was special ordered to match our masonry. The terra cotta used on eastern churches is a slightly different color.
Button