

The Bisbee Vine at St. Patrick Church
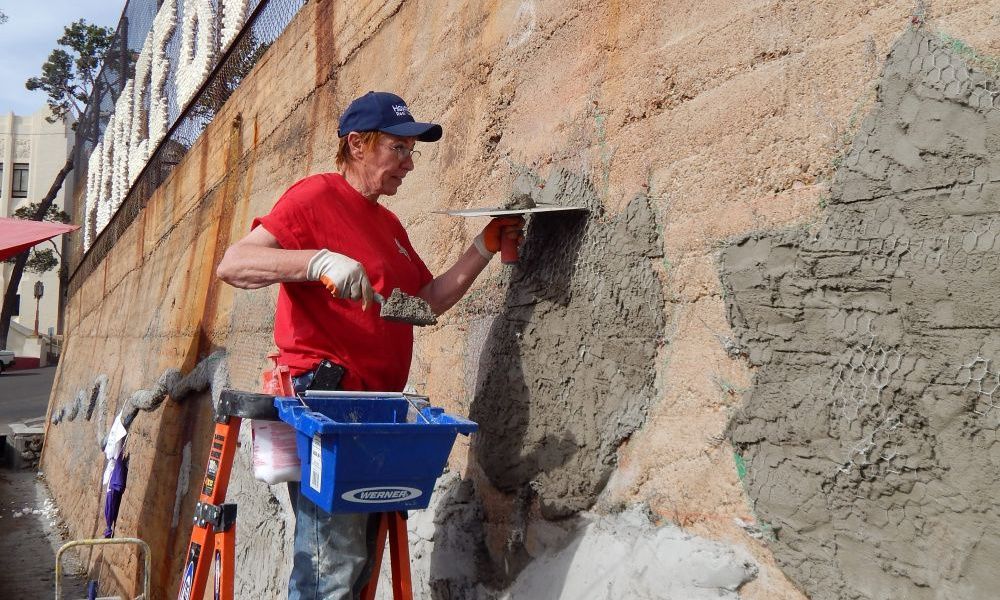
The concrete is applied to the wall . . .
Here comes the really fun part!
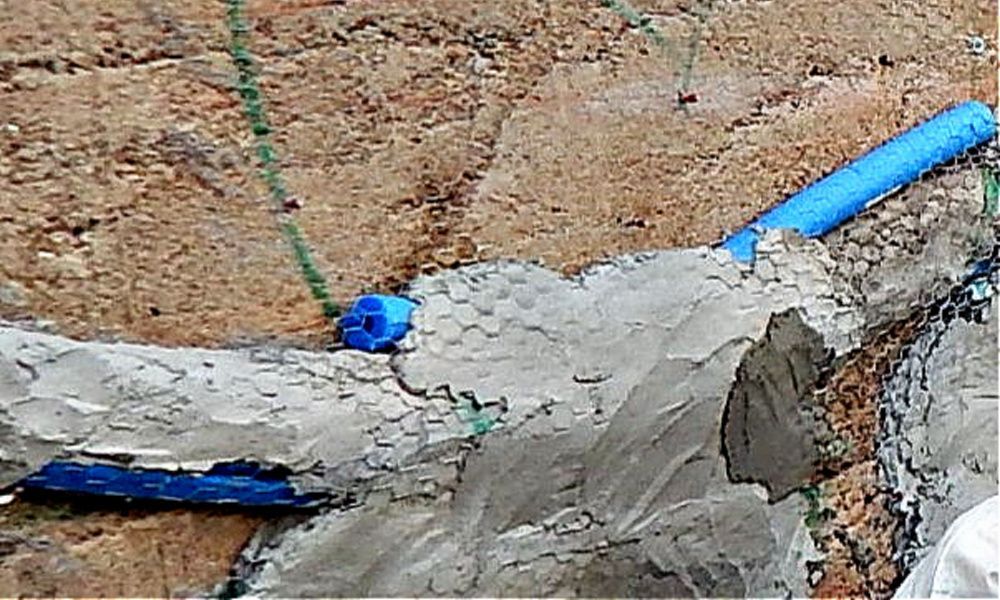
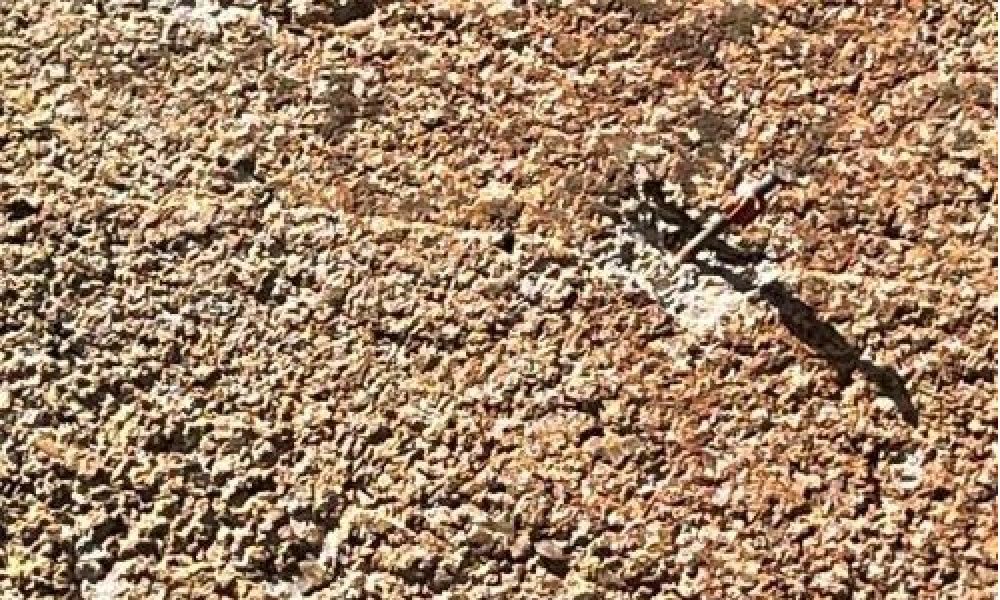
As in nature the stem or vine must sprout before any leaves can form. Right? Seemed to me, following nature was the best formula. Yet, how the heck will I get a huge stem of concrete to stick to a vertical wall…no matter how much dang glue I used. After all, the more glue used, the runnier the concrete. “Ahah!” she said. "Build a form!" Thus, pool noodles were used as a base for the vine which runs the entire length of the wall. A nail gun was used to anchor a multitude of nails into the old concrete wall, as easily seen in the right-hand photo above.
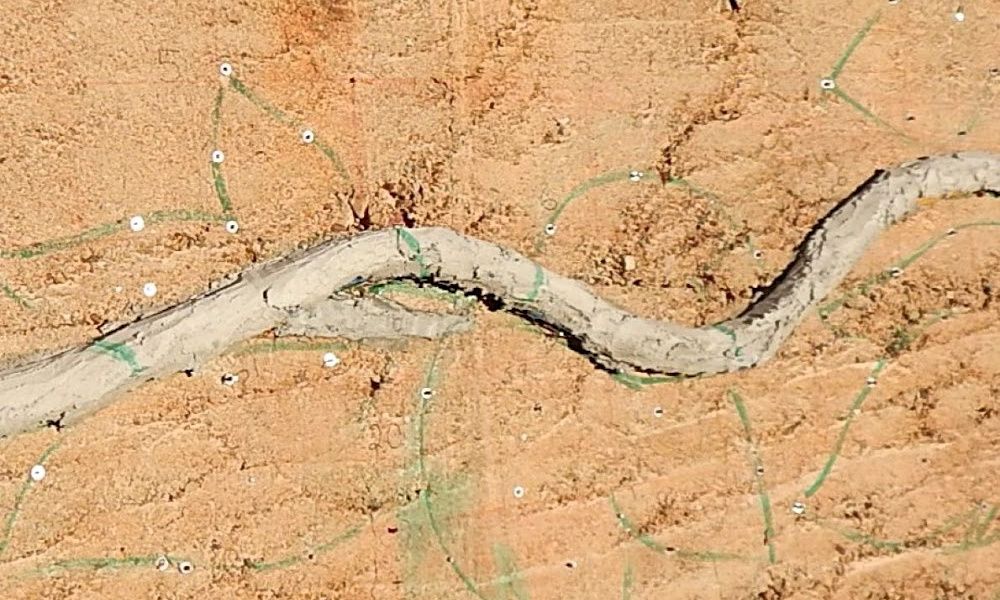
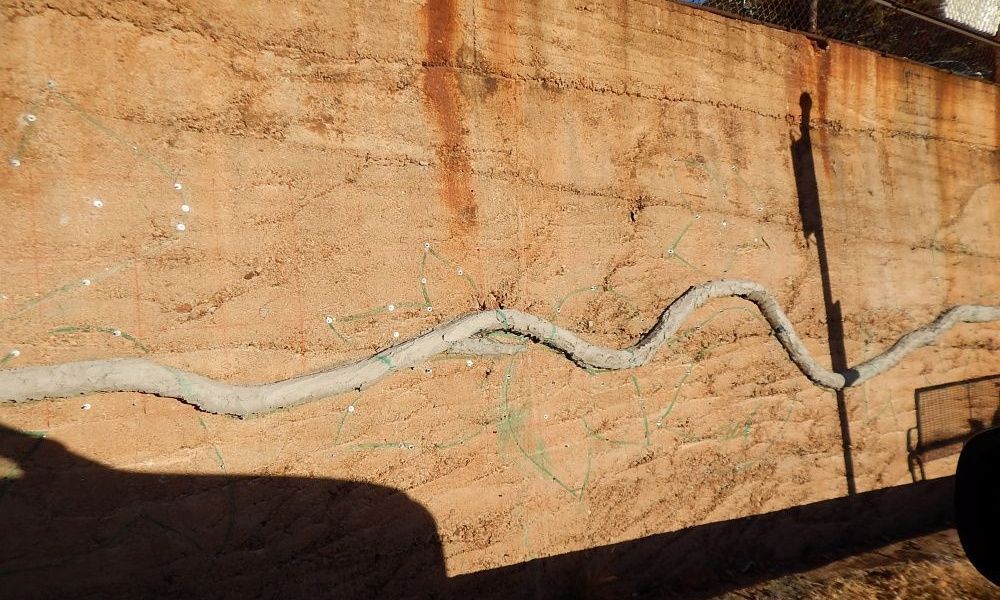
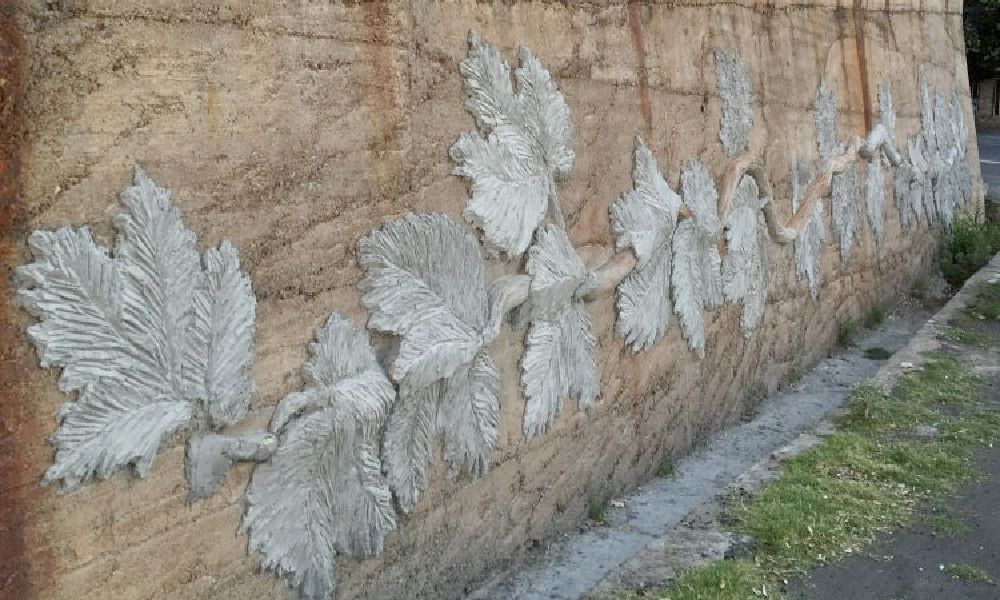
The nails secured the chicken wire, to hold the noodles, that formed a foundation, to hold the concrete… you get the idea! If you look closely at today's completed wall you can see several unused nails...solidly anchored and unwilling to be removed. For a while the project looked pretty rag-tag (ugly in fact)! But as the foundation was covered in con-crete it began to take shape as quite the healthy vine. Leaves were added, being always mindful of following the original graphed drawing, now reflected on the wall.
Glue, glue, and more glue!
The grape vine and leaves looked good, yet something was missing. Of course, grapes! But how, pray tell, does one make globs of wet concrete (resembling grapes) ad-here to a vertical wall?
Never, but never would I take on a project of this magni-tude without first drawing what was in my mind’s eye. Throwing caution to the wind and jumping in with both feet, bunches of grapes were simply placed where they looked good. No planning, no counting, no drawing.
I’ll have to admit, grape building was probably the most challenging element of the entire project.
Can’t really recall just how it happened but I was in the sacristy, probably putting something away for safe keeping, when I noticed a chalice tucked away in a corner. The chalice was perfectly round at its base, looking ever so much like a perfect grape mold. At least that is how it appeared to me. Deacon Tony gave me permission to use the unserv-iceable chalice, knowing full well it could be somewhat the worse for wear upon its return. Long story short….. a sheet of 4” thick styrofoam measuring 4’ x 8’ would become the product of choice. Nice and light yet strong enough to hold a layer of concrete.
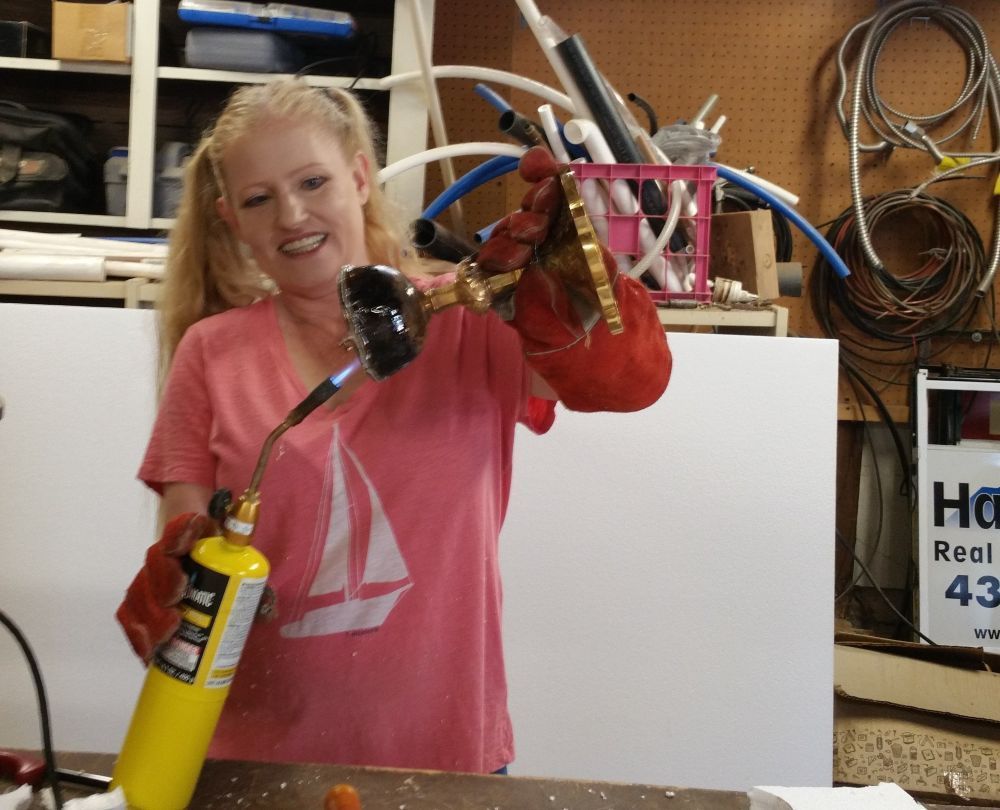
"GRAPE
BUILDING
101"
Heating the chalice with a blow torch allowed the red hot chalice to sink effortlessly into the sheet of Styrofoam. On one side, a perfectly formed grape emerged while the opposite side was flat. Each sheet of Styrofoam produced about 64 single grapes, leaving an abundance of scrap material. These scraps were used as the foundation on which to mount the individual grapes. Using wire, secured by nails, to anchor the scraps in place, the clusters looked pretty awful… a hodge-podge of curves, angles and voids. The finished cluster was formed by covering the ugly structure with half grapes by pouring, packing and poking wet concrete (don’t forget the glue) into the many voids. In turn, each grape was covered with concrete and melded to the next. Thanks to Roxan, who almost had a fetish about making each grape perfectly round, the uncolored con-crete grape clusters looked great! Unfortunately, I cannot say the same for the chalice. See “The Rest of the Story” for more about the precious chalice.